
Установка барьерных фотоэлектрических выключателей шаг за шагом

В современном мире автоматизации и промышленной безопасности барьерные фотоэлектрические выключатели играют ключевую роль. Эти устройства, основанные на принципе прерывания светового луча, обеспечивают надежное обнаружение объектов, контроль доступа и защиту оборудования. В этой статье мы подробно разберем, как правильно установить такие выключатели шаг за шагом, чтобы максимизировать их эффективность и долговечность. Независимо от того, являетесь ли вы опытным инженером или только начинаете работать с автоматизацией, это руководство поможет вам избежать common ошибок и добиться безупречной работы системы.
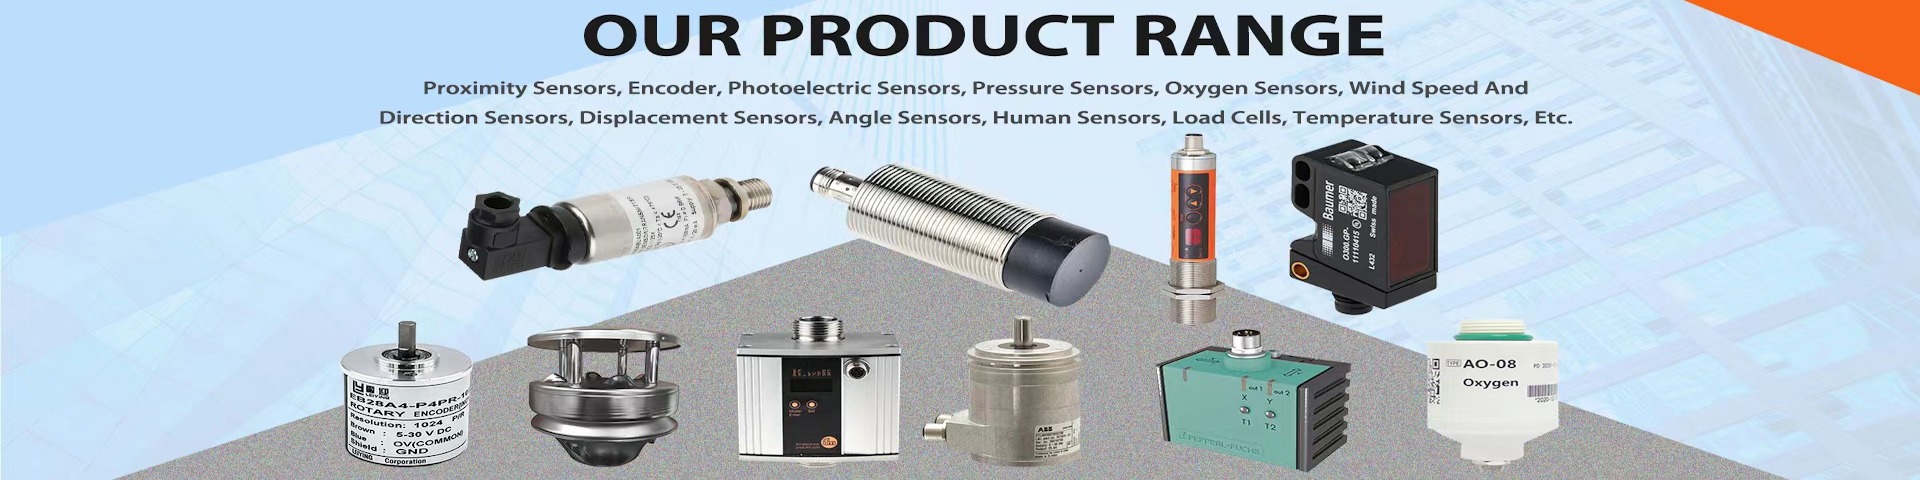
Что такое барьерные фотоэлектрические выключатели и почему они важны
Барьерные фотоэлектрические выключатели — это optoelectronic устройства, состоящие из передатчика и приемника. Передатчик излучает луч света (обычно инфракрасный), который принимается приемником. Когда луч прерывается объектом, выключатель срабатывает, отправляя сигнал в систему управления. Это основано на фотoelectric эффекте, открытом еще в XIX веке, но modernные версии используют advanced технологии для высокой точности и надежности.
Их важность невозможно переоценить. В промышленности они применяются для:
- Обнаружения presence объектов на конвейерных лентах, что предотвращает заторы и повышает efficiency производства.
- Обеспечения безопасности: например, в зонах доступа к опасным machinery, где прерывание луча останавливает equipment to avoid accidents.
- Контроля counting и positioning в automated systems, таких как упаковочные линии или robotic assembly.
Преимущества include высокую скорость response, immunity к electromagnetic interference (благодаря optical связи), и ability работать в harsh условиях, таких как dust, moisture, или extreme temperatures. Однако, неправильная установка может привести к false triggers, reduced accuracy, или даже failure устройства. Поэтому, следуя нашим шагам, вы ensure optimal performance.
Шаг 1: Выбор подходящего барьерного фотоэлектрического выключателя
Перед установкой critical выбрать correct модель. Учитывайте следующие factors:
- Дальность действия: Например, для short-range applications (до 5 meters) подойдут compact модели, в то время как long-range (более 20 meters) require powerful emitters.
- Тип луча: Visible light для easy alignment, или infrared для stealth operation. Infrared более common в industrial settings due to its reliability.
- Environmental conditions: Если area dusty или wet, выбирайте models с IP rating (e.g., IP67 for dust and water resistance).
- Выходной сигнал: Digital (e.g., NPN/PNP) или analog, в зависимости от вашей control system.
- Дополнительные features: Such as teach-in function для easy setup, или built-in diagnostics.
Consult технические datasheets и, если возможно, тестируйте в реальных conditions. Popular brands include Sick, Omron, и Banner Engineering, offering a wide range of options.
Шаг 2: Подготовка к установке — инструменты и материалы
Gather все necessary items before starting:
- Барьерный фотоэлектрический выключатель (transmitter and receiver units).
- Mounting brackets или hardware, обычно included в kit.
- Power supply: Ensure voltage matches specifications (e.g., 12-24V DC common).
- Tools: Screwdrivers, wrench, drill with bits, level для alignment, multimeter для testing.
- Cables: Shielded cables для reduce interference, with appropriate connectors.
- Safety equipment: Gloves, goggles, especially in industrial environments.
Проверьте area установки на предмет obstacles, lighting conditions (avoid direct sunlight on sensors), и potential sources of interference like motors или high-frequency devices.
Шаг 3: Монтаж передатчика и приемника
Это core часть процесса. Follow these sub-steps:
- Positioning: Установите transmitter и receiver точно opposite each other. Use a level to ensure they are perfectly aligned horizontally and vertically. Misalignment is a common cause of failure.
- Mounting: Secure units using provided brackets. Ensure they are firmly attached to avoid vibration-induced misalignment. For permanent installations, use bolts instead of screws if possible.
- Distance: Maintain the specified operating distance. Too close or too far can affect performance. Refer to the manual for optimal range.
- Angling: In some cases, slight angling (a few degrees) can help avoid reflections from shiny surfaces, which might cause false triggers.
После mounting, temporarily power the units to check if the beam is established (many models have indicator LEDs).
Шаг 4: Подключение электропитания и сигнальных кабелей
Correct wiring essential для reliability:
- Connect power supply to both units according to polarity (usually marked). Use twisted pair cables to minimize noise.
- For signal output, connect to your PLC or control system. Ensure correct wiring for NPN (sinking) or PNP (sourcing) outputs.
- Use cable glands или conduits для environmental protection, especially outdoors или in wet areas.
- Test with a multimeter to verify voltage and signal integrity before finalizing.
Avoid running cables parallel to high-voltage lines to prevent interference.
Шаг 5: Настройка и калибровка
После physical installation, fine-tune settings:
- Adjust sensitivity если available. Higher sensitivity for small objects, lower to avoid false alarms.
- Use teach-in function если supported: This allows the sensor to learn the beam interruption pattern for optimal performance.
- Check response time: Ensure it matches your application needs (e.g., fast for high-speed lines).
- Test with objects: Pass various objects through the beam to verify detection and adjust as needed.
Document settings для future reference.
Шаг 6: Тестирование и устранение неисправностей
Comprehensive testing critical:
- Perform functional tests: Simulate normal operation and edge cases.
- Check for environmental factors: e.g., sunlight, dust accumulation—clean lenses regularly.
- Common issues: No signal—check alignment and power. False triggers—adjust sensitivity or check for reflections.
- Use diagnostic tools: Many modern sensors have built-in diagnostics via LEDs or software interfaces.
Если проблемы persist, consult the manual или contact manufacturer support.
Шаг 7: Интеграция с системами управления и окончательная проверка
Integrate with your overall system:
- Connect to PLC программирование логики для response на triggers.
- Ensure compatibility with other devices in the network.
- Perform a full system test under load conditions to validate reliability.
- Document the installation: Keep records of positions, settings, and wiring for maintenance.
После этого, система готова к эксплуатации.
Заключение: Важность профессиональной установки
Установка барьерных фотоэлектрических выключателей — это процесс, требующий внимания к деталям. Следуя этим шагам, вы можете achieve высокую надежность и efficiency в ваших applications. Remember, regular maintenance, such as cleaning lenses and checking alignment, prolongs device life. Для complex systems, consider training или hiring experts. With proper installation, these sensors will serve as a backbone of your automation and safety efforts for years to come.
Если у вас есть вопросы, обращайтесь к производителям или professional communities для support. Удачи в ваших projects!
Предыдущая статья: Инновационные приложения волоконно-оптических датчиков для умного будущего
Следующий пост: Революция в точности с датчиками светлого поля